
Simple handmade gift idea
- Timush
- Nov 16, 2018
- 3 min read
Is a family members birthday approaching and you again do not know what to give as a present? Or maybe you are already on "mission Christmas" and want to avoid the holiday crowds in the shops. Try a new approach, do not buy ready gifts - instead create your own one! You do not have time? Or inspiration? You are on the right spot. Let me introduce you an easy to make but awesome gift that you can make even if you are not a crafter. Let us prepare together a photo album - here we go!
Photo album ingredients:
spiral-bound book
scrapbook papers
chipboard
twine
ruler
pencil
scissors
glue
To pimp up a bit more the album: stamps and stamping ink pad, metal book corners

Now this article is for beginner crafters. You see you do not need special tools to be able to create your own album that will make an awesome gift. For you all advanced crafty fellows, stay tuned, I will be posting more challenging articles and videos in near future.
Back to the album crafting - where to get the supplies you might ask. You will find majority of the supplies at home. As for the specific ones like the spiral bound book you can shop around on the net or in a nearby craft shop. I can help out with the online shops, just drop me a message.
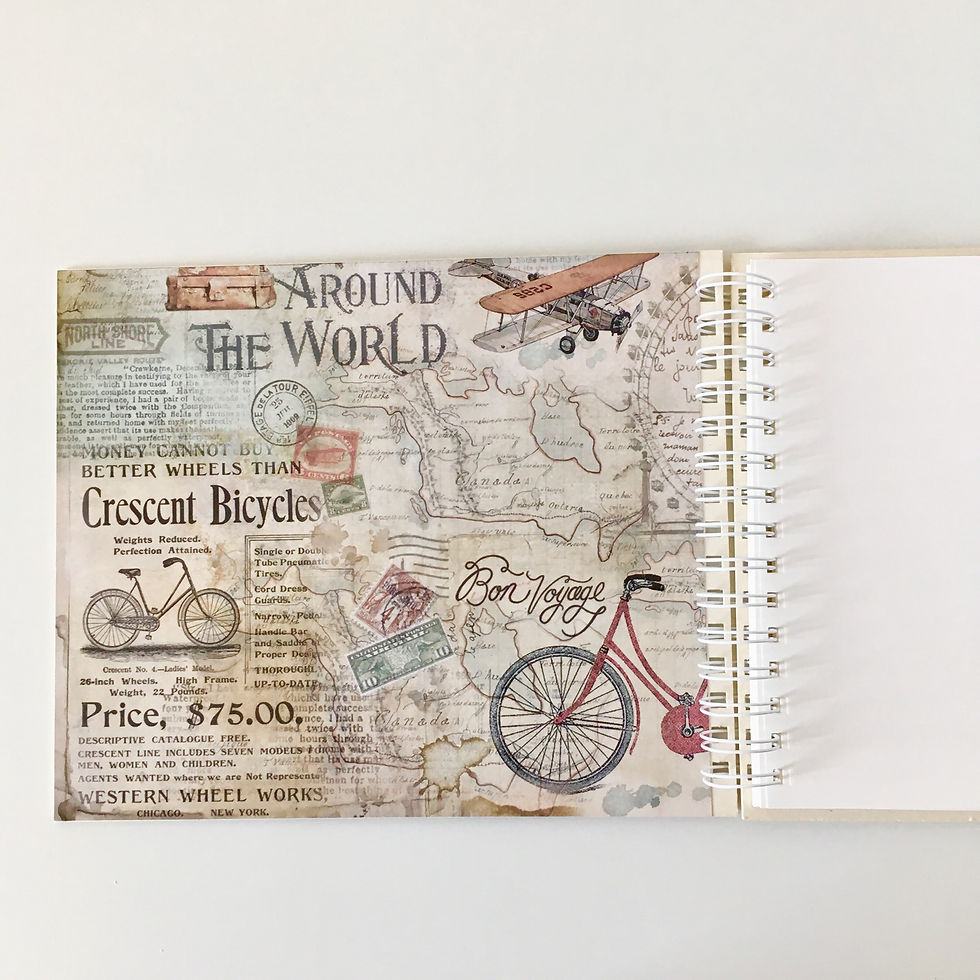
When you already have your book, we can go to the fun part and start decorating it. The book I used for base of my album had measurements 25 x 20 cm. Now grab your scrapbooking paper you wish to use to decorate the front page of the album. I made marks with pencil on the paper so I could cut the paper to the size 23,7 x 20 cm.

I cut with scissors a second smaller piece of paper with measurements 6 x 20 cm. You can see it on the left side on the picture above. Take some of the embellishments you would like to have on the album. I used some chipboards that remind me of traveling.
Go on and glue all the pieces together with a hobby glue. I recommend you to first try the glue on a smaller piece of the same type of paper. Just to see whether the glue will leave some marks or if it will not warp the paper itself. We definitely do not want to ruin our masterpiece due to wrong type of glue, do we?

When our cover page is ready, turn it over and apply glue to the whole back part. You do not need too much glue. Go for the quality ones and a small amount will be just enough. Be careful when gluing the paper to your album base so that it is even mainly on the corners.
Cut out 3 more papers with measurements 23,7 x20 cm. These will be used on the backside of the cover as well as in the insides. Glue them on evenly. I do not put embellishments on the backside of the album cover, but feel free to do so according to your preferences. It is more practical for me to store, if there are none on the back.

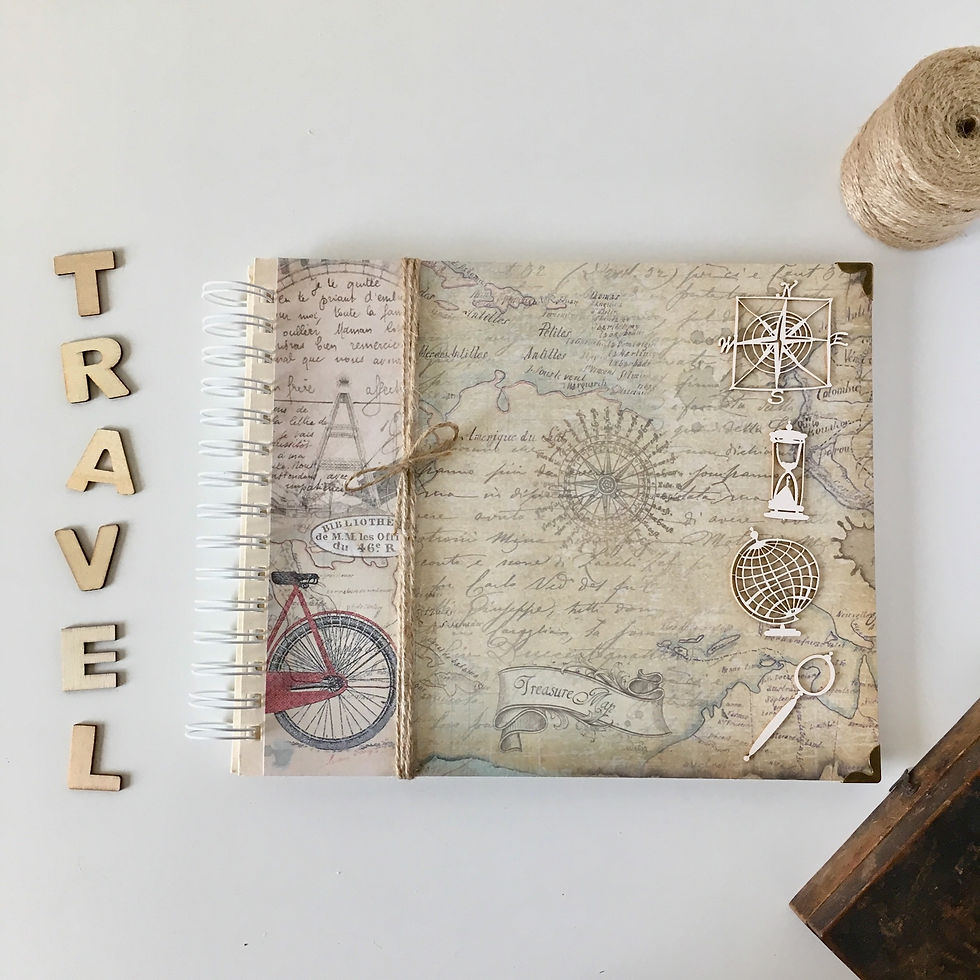
As there was still something missing for me on the front cover, I added some twine.

Much better looking with the twine, right?

For the album to last for ever and ever, I would recommend to use metal corners for protection. You can glue them with a superglue, however I like to use Glossy Accents. I know this is not really a glue, but it has such a tiny tip and makes a great job with the metal corners.
And with this last touch, the photo album is ready. It was easy, right?
Timush
Comments